
Okay, so you’re ready to say “bye-bye” to dust bunnies, but the world of vacuum cleaners feels like a whole new universe, right? Don’t sweat it! Finding the right dust-sucking superhero for your home doesn’t have to be complicated. Think of this as your friendly, no-nonsense guide to getting from dusty floors to “dust done!”
Step 1: What Kind of Floors Do You Have?
Imagine your home as a landscape. Different terrains need different vehicles!
- Lots of Carpets and Rugs: You’ll want a vacuum with a brush roll (that spinning brush underneath). It’s like a little comb that loosens the dust trapped in the fibers so the vacuum can suck it up. Upright vacuums are often a good pick for lots of carpet.
- Mostly Hard Floors (wood, tiles, etc.): You need a vacuum that won’t scratch your beautiful floors. Look for one where you can turn the brush roll off or one with a special soft brush attachment. Canister vacuums and some stick vacuums are great for this.
- A Mix of Both: No worries! Many vacuums are like all-terrain vehicles. Look for one with a switch to turn the brush roll on and off, or that comes with different heads for different floors.
Step 2: What Kind of Vacuum Feels Right?
Think about how you like to move around your house:
- Upright: These stand tall and are usually good for larger carpeted areas. They can sometimes be a bit clunky in tight corners.
- Canister: These have a body on wheels that you pull along, with a hose and wand for cleaning. They’re often lighter to maneuver and great for getting under furniture.
- Stick: These are slim, lightweight, and often cordless (battery-powered). They’re super handy for quick cleanups and smaller spaces, and many are great on hard floors.
Step 3: Bagged or Bagless? A Quick Look:
This is about where the dust goes after it’s sucked up:
- Bagged: The dust goes into a disposable bag. Some people find this more hygienic, especially if they have allergies, as you just toss the sealed bag. You’ll need to buy new bags now and then.
- Bagless: The dust goes into a container you empty directly into the trash. No extra costs for bags, but be careful when emptying to avoid a dust cloud.
Step 4: Don’t Forget the Extras (Attachments!):
Think about other places dust likes to hide:
- Crevice Tool: That long, skinny attachment? Perfect for getting into tight corners and along baseboards.
- Upholstery Tool: A wider head, often with a fabric strip, for cleaning sofas and chairs.
- Dusting Brush: Soft bristles for gently cleaning shelves and delicate items.
Most vacuums come with a few of these – think about what you’ll use most.
Step 5: Keep it Simple, Smart Shopper!
Don’t get bogged down in all the fancy terms right away. Focus on the basics: what kind of floors you have and what kind of vacuum feels easiest for you to use. Read a few simple reviews online to see what other beginners are saying.
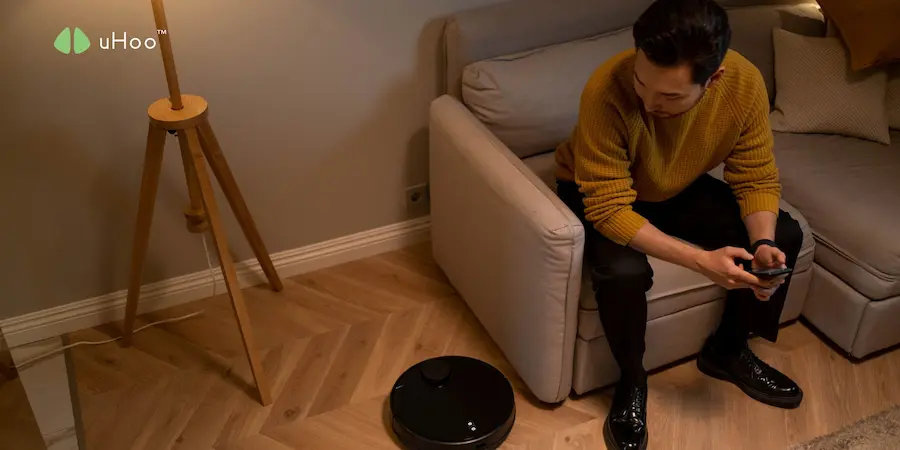
Once you’ve found your perfect dust-busting buddy and your home is feeling cleaner, consider taking your air quality to the next level as well. A uHoo air quality monitor would be another great investment to work alongside your awesome new vacuum, giving you real-time info about the air you’re breathing and ensuring that it’s truly clean. You’ve got this – dust will be gone before you know it!