If you’re new to home maintenance, changing filters might seem like a daunting task, but it’s one of the most impactful DIY steps you can take for a healthier home. This comprehensive checklist will guide you through everything you need to know about filter replacement, ensuring you’re breathing easier in no time.
Phase 1: Preparation is Key – Setting Yourself Up for Success
- Identify All Your Filters: Take a home inventory. Where do you have filters? Common locations include:
- HVAC system (furnace, air handler)
- Vacuum cleaner (various types depending on the model)
- Portable air purifiers (often multiple filters)
- Kitchen range hood (grease and charcoal filters)
- Dehumidifiers
- Humidifiers
- Car air filter (often forgotten but important for in-car air quality)
- Consult Your Manuals: Locate the manuals for each appliance with a filter. These are your ultimate guides for:
- Precise filter location
- Specific filter type and size requirements
- Recommended replacement frequency
- Step-by-step replacement instructions
- Note Filter Sizes and Types: For each filter, jot down the exact dimensions (length, width, thickness) and the filter type or model number printed on the existing filter frame. For HVAC filters, note the MERV (Minimum Efficiency Reporting Value) rating. For air purifier filters, note if they are HEPA, activated carbon, or pre-filters.
- Establish a Replacement Schedule: Based on manufacturer recommendations and your usage (e.g., homes with pets or allergies might need more frequent changes), create a recurring schedule. Mark your calendar or use a reminder app. General guidelines include:
- HVAC: 1-3 months (more often during heavy use)
- Vacuum: Varies by model (check manual, often every 3-12 months or when visibly clogged)
- Air Purifier: Varies by filter type (pre-filters often monthly, HEPA/carbon every 6-12 months)
- Kitchen Range Hood: 1-3 months (depending on cooking frequency)
- Gather Your Supplies: Before you start, ensure you have:
- New replacement filters (correct size and type for each appliance)
- A screwdriver (if needed to open filter compartments)
- A vacuum cleaner with a hose attachment (for pre-cleaning filter areas)
- Gloves (optional, if you’re sensitive to dust)
- A marker (to note the replacement date on the new filter)
- A plastic bag for disposing of old filters
Phase 2: The Filter Change Process – Step-by-Step for Each Appliance
- Safety First: Power Down: ALWAYS turn off the power to the appliance before changing the filter. For HVAC, switch off the breaker. For smaller appliances, unplug them.
- Locate the Filter Compartment: Refer to your notes and manuals to find the filter access point for each appliance.
- Remove the Old Filter Carefully: Slide or lift out the old filter. Note its orientation (especially the airflow arrow on HVAC filters).
- Pre-Clean the Filter Area: Use your vacuum hose attachment to remove any loose dust or debris from the filter compartment. This prevents the new filter from immediately getting dirty.
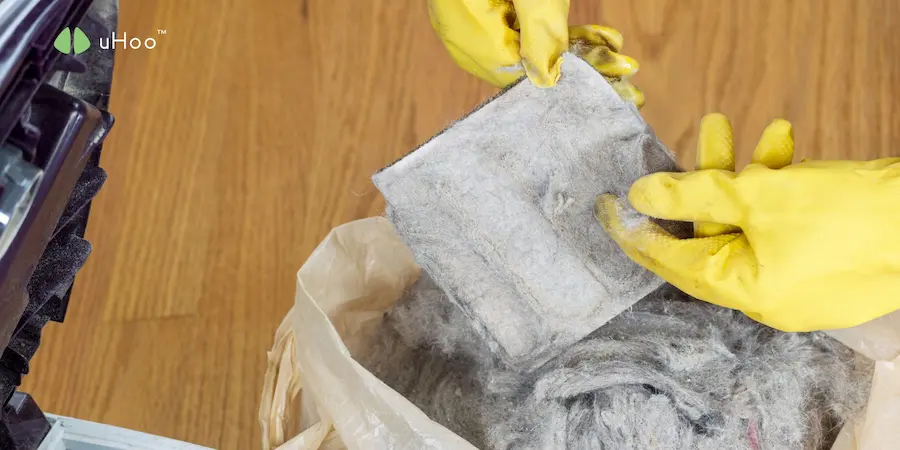
- Dispose of the Old Filter Properly: Place the used filter in a plastic bag to contain the collected contaminants and dispose of it according to local regulations.
- Install the New Filter Correctly:
- Orientation Matters: Ensure the new filter is inserted in the correct direction, matching the airflow arrow on HVAC filters or the orientation of the old filter.
- Secure Fit: Make sure the filter fits snugly in its designated slot without being forced.
- Proper Placement: For air purifiers with multiple filters, ensure each type goes into its correct slot.
- Note the Replacement Date: Use your marker to write the date of replacement on the new filter frame. This helps you track when the next change is due.
- Secure the Compartment: Close and latch any access doors or panels securely.
- Power Up: Restore power to the appliance.
Phase 3: Post-Replacement and Ongoing Maintenance
- Test the Appliance: Turn on the appliance to ensure it’s functioning correctly with the new filter. Listen for any unusual noises.
- Monitor Airflow: For HVAC systems, check that airflow from vents is strong and consistent.
- Stick to Your Schedule: Adhere to the replacement schedule you established earlier. Regular changes are crucial for optimal performance and air quality.
- Consider Environmental Factors: If you have pets, allergies, or live in a dusty environment, you might need to change filters more frequently than the standard recommendations.
While following this ultimate filter change checklist is a significant step towards a healthier home, understanding the real-time impact on your indoor air quality can provide valuable feedback.
A uHoo air quality monitor acts as your personal air quality expert. By continuously tracking particulate matter (PM2.5 and PM10), which includes dust, allergens, and other airborne pollutants that your filters are designed to capture, uHoo provides tangible data on the air you breathe.
After diligently changing your filters, monitor your uHoo readings. A noticeable improvement in your air quality metrics indicates that your efforts are paying off. Conversely, consistently elevated readings, even after regular filter changes, might suggest other sources of indoor pollution or the need for higher-efficiency filters.
uHoo empowers you to proactively manage your indoor air quality, ensuring that your commitment to filter maintenance translates into a truly cleaner and healthier home environment for you and your family.